Showing posts with label my recipes. Show all posts

no fuss dessert | chocolate trifle

September 3, 2018

I have to admit, it took me a few moments to remember how to create a blog post seeing
it's been almost a year since I've been on here! I really enjoy using social media, primarily IG to share my home and recipes with you all, but I thought it would be nice to start documenting things here as well. I do miss this outlet and I'm hoping to get more active with it in addition too my IG posts!
Yesterday I shared a photo of the trifle I whipped together for our Labor Day cookout and I had a huge response asking for all the details! I had planned on sharing in my IG stories, but I thought it would be nice to share on here so everyone could pin it or print it out. Although social media makes it super simple to share and save recipes, I still love printing and writing them out. I guess it's just the "old soul" in me!! I have so many recipes on paper it's a bit scary!!
The recipe for this easy, no bake trifle, is really just a combination of our families favorite chocolate candies and cookies. I use the same format over and over with different combinations. The possibilities are really end less!


For this trifle I used Oreo's, chocolate pudding, pound cake 
and Cool Whip as the base. And then filled the middle with
Reese's Peanut Butter Cups and Kit Kat bars!
You can switch out the pound cake for brownies 
or I even like to use left over chocolate chip cookies!
You can also use different pudding flavors or I like
to use my favorite peanut butter pie filling as well!
Reese's and Kit Kat's are our favorite, but you can use
any type of chocolate or candy you like!
The possibilities are endless and the are no rules here!
These are great for the kiddos to create too because there really is
nothing to it! Just whip up the pudding and start
adding the everything in! 


I've decided to call this the No Fuss Dessert because it truly is just that.
No baking or crazy prepping, you just whip it up and go!
You can find the exact ingredients and how I create this exact trifle below.


No Fuss Chocolate Trifle

Ingredients :
1 Entenmann's Butter Pound cake cut into cubes.

1 box JELLO Instant Chocolate Pudding Mix 

Milk for the Pudding Mix

1 Large Tub of Cool Whip

1 small bag of Reese's Peanut Butter Cup Miniatures

1 small bag Kit Kat Bar Miniatures 

1 package Peanut Butter Pie Oreo's


Directions:
*To make this much easier on yourself, chop up all the Reese's and Kit Kat's for quick and easy layering!!*

1. Make pudding using the instructions for pie filling.
 This will hold the trifle together nicely. 

2. Layer bottom and sides of the trifle with the Oreo's 
This will be the base.

3. Take a few of the pound cake cubes and place over the Oreo's.

4. Once pudding has thickened, layer a little over the pound cake and begin to add your already chopped up Reese's and Kit Kat's. I like to add another layer of Oreo's as well!

5. Add your Cool Whip and then repeat from the top until you have layered as far as you can go! You may need more or less pudding depending on the size of your trifle dish. Mine was not too big, so I had two layers of pudding.

6. You want to be sure you have plenty off Cool Whip for the top and don't forget to garnish with what is in the trifle so your guests know what they are digging into!
Also, if you are serving a large crown and unsure of allergies, you can use any type of Oreo's and /or candy!!

7. Place in refrigerator to set for about an hour before serving!

There is honestly no right or wrong with this dessert and it's even better
when you make it your own!!

Enjoy my friends!!  



easy apple crisp | with Cheerios

October 2, 2017


Happy Fall friends!
I've been MIA for sometime, but I'm getting back into things and hoping to be one here more often!
Today I'm stopping in real quick to share my super simple Apple Crisp recipe using Cheerios in place of oatmeal! I used Multi-grain Cheerios because I was out of oatmeal but I thought about it and using any grain cereal you have on hand will do!


We went apple picking last weekend and we have so many apples that I had to make something and I found this recipe in my mom's stash. 
Hope you enjoy it as much as we did!

INGREDIENTS
  • 8 LARGE APPLES 

1/2 C GRANULATED SUGAR

1 TABLESPOON FLOUR

1 TSP VANILLA EXTRACT

PINCH OF SALT

2 TSP GROUND CINNAMON (1 USED A LITTLE CLOSER TO 3)

1 C MULTI-GRAIN CHEERIOS (OR ANY GRAIN CEREAL)

1 C FLOUR

1 C BROWN SUGAR 

1/4 TSP BAKING SODA

1/4 TSP BAKING POWDER

1/2 CUP BUTTER, MELTED 

VANILLA ICE CREAM (OPTIONAL)


DIRECTIONS
Preheat oven to 350 degrees.
Peel, core, and slice apples. 
Place in a baking dish.
Mix together ½ cup granulated sugar, 1 tablespoon flour, 2 tsp cinnamon and vanilla in a small bowl.
 Sprinkle the mixture over the sliced apples and toss to combine.
Combine the remaining ingredients in a bowl and mix.
TOP OVER SLICED APPLES.
 Bake for 45 minutes.
SERVE WARM

Don't forget the vanilla ice cream and whipped cream!!

Easiest Easter Dessert {No Bake Golden Oreo Cake}

March 26, 2016

Easter has always been my favorite holiday. Although I say the same about Thanksgiving and Christmas, there is something extra special about Easter. Be it the refresh of spring or the meaning it holds, I just love the simplicity of it and Easter Sunday mass was always my favorite growing up. 
Of course my love for Easter has a lot to do with all the wonderful food that goes along with it. 
Today I am sharing the easiest Easter dessert ever. If you need to whip something up in a hurry, this is the go to recipe for you and there are a million ways you can add your own twist to it! 
Let's get to it shall we?


 Golden Oreo Cake

Ingredients:

~ 1 lb bag  Golden Oreos 

~ 1 12oz tup Regular Cool Whip 

~ 1 bag Easter M&M's

~ 10 pieces of mini Reese's Peanut Butter Cups 

1 cup cold milk (or just enough to dip your Oreos in)

Instructions:


~ Have your 8"x 8" glass baking dish ready.
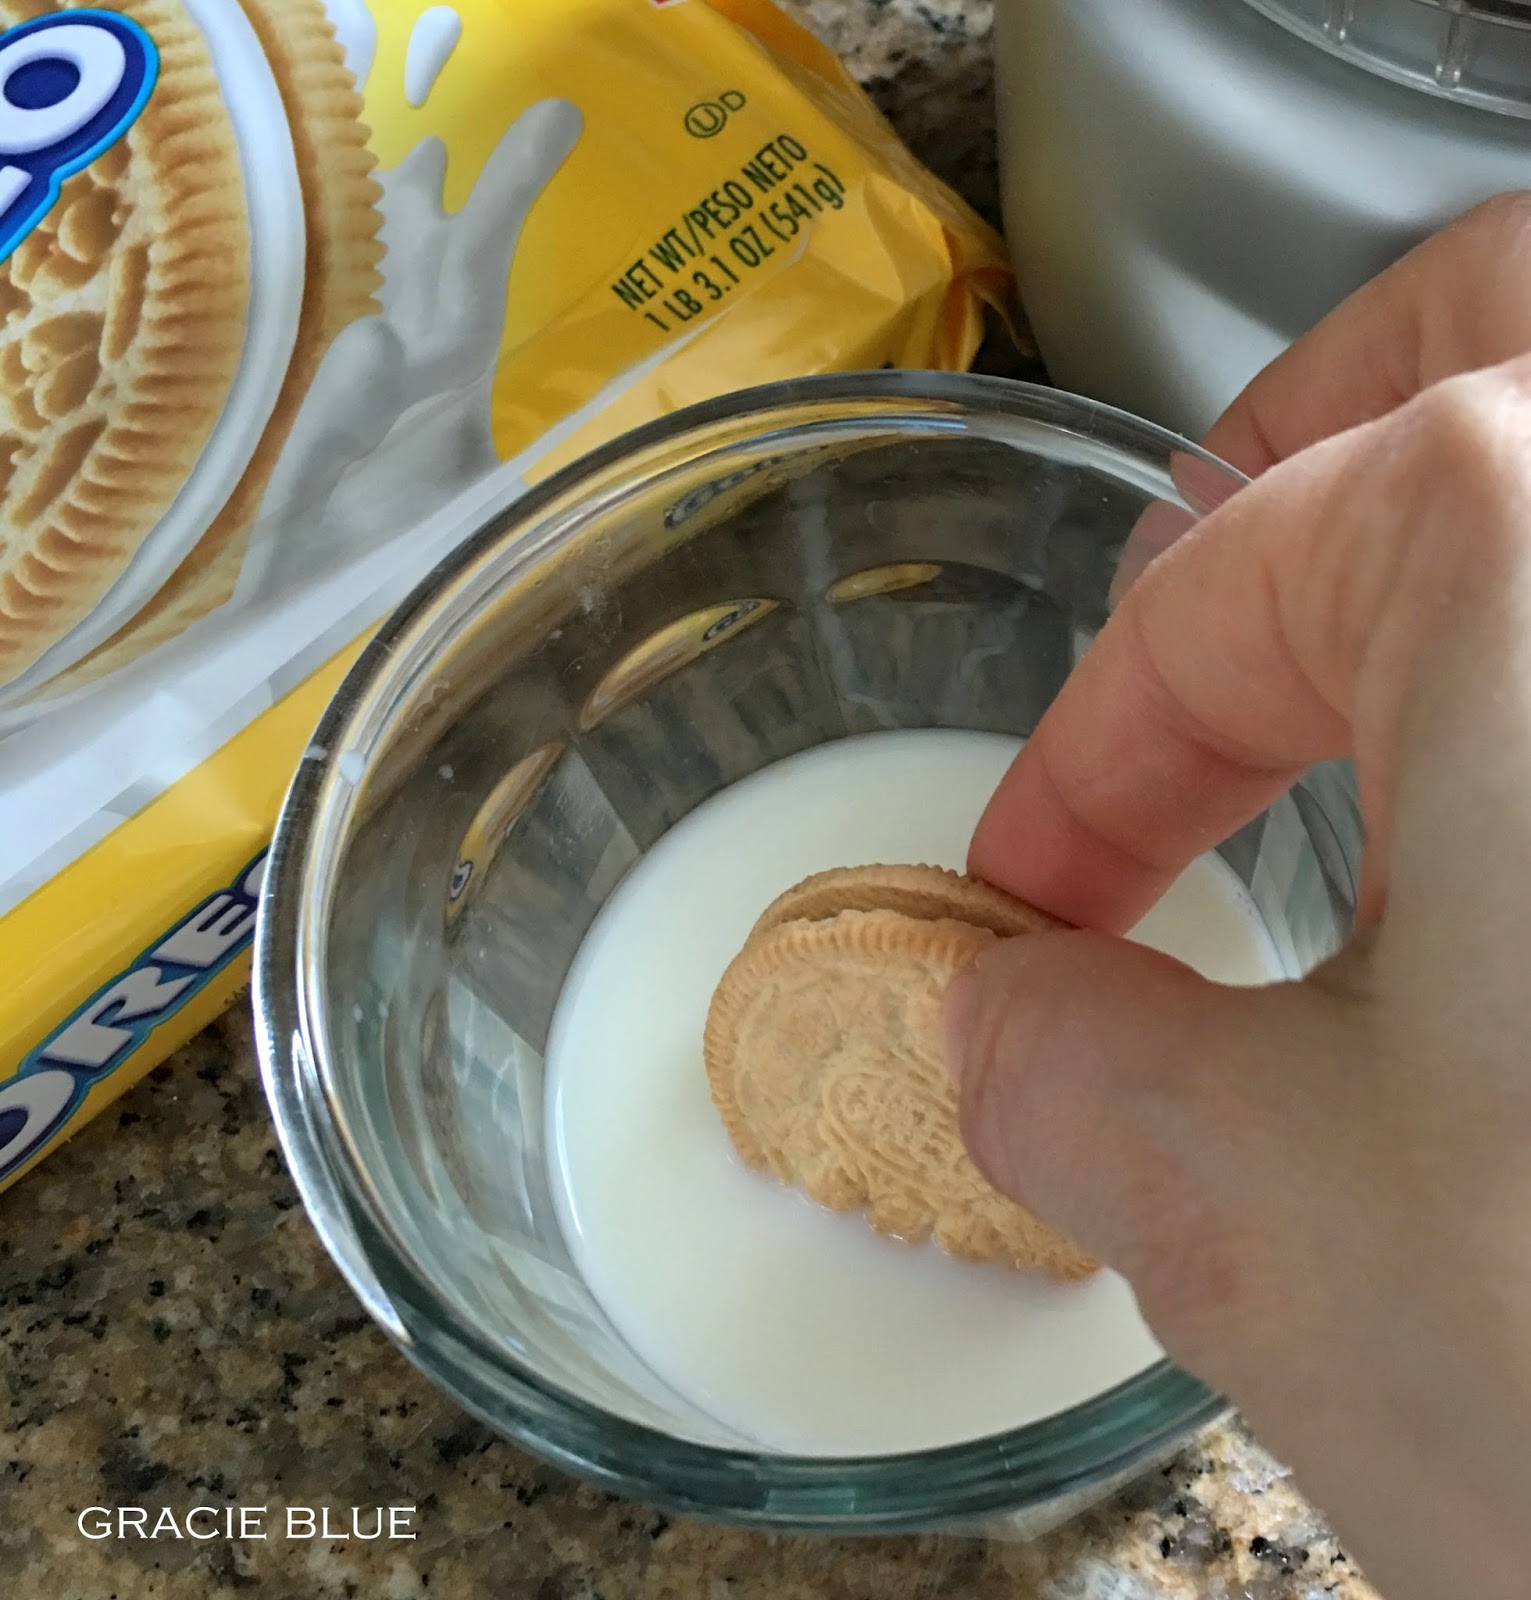
~Dip Oreos in milk and then line the bottom of the baking dish with the moist Oreos.
~Layer a good amount of the Cool Whip on top of the Oreos.
~Sprinkle your M&M's & Reese's Peanut Butter Cups on top of the Cool Whip layer.
~Then add another layer of Oreos dipped in milk. 


~Add another layer of Cool Whip. 
~Be sure you have enough room for your final layer of yumminess (is that even a word??)!!


~Add a few Oreo's and M&M's into a mini food processor. If you don't own one of these then simply use a Ziplock bag and crush everything up in the bag. I usually use a rolling pin to be sure everything is crushed up nicely!


~ This is what it should look like after you chop it up!


~Sprinkle the mixture of yumminess over your top layer of  Cool Whip!


That's it!! 
In the words of one of my favorite chef's Ina Garten, 
"How easy was that???" 
There are really a million different takes on this easy dessert, but I thought I would keep it festive!
You can switch out the Oreos for any flavor, use whipped cream instead of Cool Whip and what ever candy is your favorite. When I put this dessert together I used the left over candy that we filled our Easter eggs with! So this is a perfect dessert for all that left over candy!!
Easy right??

I hope you all have a very blessed Easter!!
Thanks for stopping by!

Perfectly Pumpkin Chocolate Chip Cookies {repost}

September 8, 2014


Happy Monday friends!!
I know, I know.... I've been a horribly bad blogger!! It's been a while since my last post, but I promise you I have some really exciting things in store that I've been busy with... along with a ton of cake & cupcakes orders, my day job and being a mommy!! So please hang in!! I don't want to keep you completely in the dark so I can share that my very first fall home tour is right around the corner and you don't want to miss it!!
 In the mean time I'm going to share my absolute favorite fall cookie recipe.... Perfectly Pumpkin Chocolate Chip Cookies!! I posted this exact recipe last fall and it was a huge hit, so I thought I would share to again for those of you who are new followers or missed it the first time!! I actually made these not to long ago (yes in the dead of summer) and replaced the milk chocolate chips with white chocolate chips and holy cow!! YUMMY!!!
If these cookies don't have you feeling all warm and cozy inside nothing will!! Enjoy and let me know what you think!!


Ingredients:

1 cup canned pumpkin
1 egg
1 cup granulated sugar
1/2 cup vegetable oil
2 cups all purpose flour
1 1/2 tsp cinnamon
2 tsp baking powder
1/2 tsp salt
1 tsp baking soda
1 tsp milk
1 Tsp vanilla extract
1 11oz bag chocolate chips

Instructions:

Mix pumpkin, sugar, vegetable oil, egg and vanilla in a large bowl. In a separate bowl whisk together flour, baking powder, cinnamon and salt. Dissolve the baking soda with the milk and add to the wet ingredients and mix well. Add the flour mixture to the pumpkin mixture and mix well. Fold in chocolate chips. Line baking sheet with parchment paper or baking mat. Drop cookies onto baking sheet using a medium size ice cream scoop.
Bake at 350 for 10-13 minutes depending on your oven.
Let cool completely as these cookies are very moist and will fall apart in your hand if they are picked up when they are still hot.
I like to dollop a small scoop of  French Vanilla Cool Whip on top of each before serving!!!

For more fall recipes and inspiration....
 Check out my It's Fall Y'all board on Pinterest!

Happy Almost Fall!!!!

What I Made {Buffalo Chicken Pasta Salad}

June 22, 2014

Hi friends,  hope you all are enjoying this gorgeous Sunday....
 
 Despite all the forecasts calling for rain earlier in the week, yesterday
 
 turned out to be a perfectly lovely day for a 2nd birthday party!!
 
The water slide was a huge hit along with my Buffalo Chicken Pasta Salad!!
 
I can not tell you how many people asked me what it was and who made it!
 
This time I did not get the recipe off of Pinterest! Shocker, I know, and I'm
 
pretty sure no one believed me! What makes this pasta salad different is that
 
 I used actually "buffalo chicken"
 
 in this recipe! My family is addicted to the Tyson Buffalo Chicken Strips so
 
I thought it would be the perfect addition to this pasta salad, and boy was it
 
 ever!! I also used Frank's Red Hot Sauce, but not to much as I knew the
 
 kiddos would be eating this as well! This recipe is really very simple and
 
 great for large parties! To make it for a small gathering simply cut the
 
 recipe in half! It's that easy!
 
I guarantee it will be a hit at your next barbecue!!
 

Ingredients:
 
2 boxes Farfalle pasta
1 (25 oz) bag Tyson Buffalo Chicken Strips chopped
 1 cup chopped carrots
 1 cup diced celery
 1 large chopped red onion

Directions:

Pour 2 of the 9oz bottles of the Ken's Blue Cheese dressing and Frank's Red Hot sauce into a large mixing bowl.
Chop red onion, celery and carrots and add to bowl with dressing.
Prepare Tyson Buffalo Chicken Strips according to package directions and let cool completely. Once cooled, chop and add to bowl with dressing.
Gently mix all ingredients in bowl until combined. Set aside or in refrigerator to keep cool.
Prepare the pasta according to package directions. Drain and rinse with cold water.
Place cooled pasta into a large serving bowl.
 Add the remaining ingredients to the serving bowl with pasta, along with the 2 remaining bottles of Ken's Blue Cheese Dressing. Mix well until all of the pasta is covered in dressing.
Chill in refrigerate for at least 2 hours before serving.
Mix thoroughly again before serving.
  Add more hot sauce if you like it really spicy and enjoy!!!

*You saw this recipe first here @ Gracie Blue ~ The Blog*