
When it comes to special life events a party is my favorite way to celebrate. It's in my blood. My mother was a party perfectionist and every detail about parties and how to throw them I learned from her! She took pride in every aspect of a family gathering, get together, birthday, coffee date, holiday, wedding, you name it, my mom knew how to make it special.
The one thing she used to always tell me when it came to throwing any kind of shindig was this:
"It's the little details that make a party most memorable." and it could not hold more truth. What she meant by little things are those that may take hours to put together, but those that everyone will remember. There are four steps that I take when I plan my parties. They pretty much set the stage for any event, even weddings. Now, don't get me wrong, throwing the "perfect party"every time simply does not happen!! This is the real world folks and sometimes things won't go as planned or the weather won't be the best. The key to any successful party is of course planning and attention to detail! With these four steps, the things that truly matter about throwing a party will all fall into place. For each step I will be using my daughters First Communion party as reference guide.

Four Steps to a Fabulous Party:
1. Party Theme & Invitation
Choosing a theme pretty much sets the stage for your event. Choose a theme and go with it. If you are throwing a birthday party let the theme guide the way for everything that follows. This includes the invite, color scheme, decorations, food, entertainment and party favor.
The invite to me is really the most important little detail there is to setting the stage for your event. It's the first thing people see regarding your event and it should be a reflection of what your party is all about!! Your color scheme should be reflected somewhere on or in the invite. Even with Evites and electronic invitations be sure that they reflect the type of event you are having. Don't send out puppy dog invites for your son's first birthday party and serve am Elmo cake with Elmo decorations all over the place! Sure your child may love Elmo, but if he loves Dogs too find a way to have both on the invite! Photo invites can make that really simple! You just want to be sure people know why you are having the party and a small glimpse of what's to come.
This is the invite from our daughters first communion.

I love the simplicity of this invite from Tiny Prints.
It simply reflects the event, theme and color scheme.
I also love adding a photo for that real personal touch.
2. Location | Meal| Drinks | Cake
The second step is pretty self explanatory and should be where the majority of your budget goes. We always prefer to have our parties at our home. We love to entertain and we are lucky enough to have the space for most of our smaller gatherings. If house parties aren't your thing, there are plenty of locations to choose from. Just be sure you love the place and that the food is top notch! The first thing people look forward to when it comes to a party is always the food!! A special touch my mom always liked to do was serve a specialty cocktail to all her guests. For example, at my bridal shower she asked that her favorite martini be offered to each guest as they walked in. She also had the recipe for the drink made into little business cards so if the guests really loved it they had the name and ingredients ready in hand for next time they went out! I actually still have it and fits perfectly in my wallet! Something so simple, yet made a huge impact!
For my daughters party, we simply served soda, water, beer and wine.
For my daughters party, we simply served soda, water, beer and wine.


For Gracie's communion we decided to go with a pizza truck.
Although this was not the cheapest route, it was the easiest and most convenient for us.
I didn't want to be stuck in the kitchen cooking and this particular pizza truck serves any kind of pizza of your choosing along with salad, cappuccino and gelato to finish!! They also provided paper plates and utensils. So the only food we had to worry about were finger food to start, drinks and the cake!
Speaking of cake....


"A party without cake is just a meeting"
~ Julia Child
The cake must reflect your event & theme. There are thousands of cake ideas out there and many you can tackle on your own. I saw a much larger version of this Rosary Bead cake and cupcake display on Pinterest and added my own flare to it. Many people like to have a white dress cupcake display for a little girls First Holy Communion, but I preferred to go the traditional route. So do what pleases you, just make sure it tastes amazing!!
3. Entertainment | Photography | Decor
This step can be optional depending on your exact event and theme, but personally photography is a must. These are times you want to remember and cherish and with technology at our finger tips you really don't have to hire a professional photographer. However, for big life events such as a wedding, baptism, communion, bar mitzvah, sweet 16, big birthday's & anniversary's I suggest leaving room in the budget for a professional. I decided to hire a professional to take Gracie's photos for her communion. I knew I wouldn't have the head or time to do it properly so I went with a pro.

This photo to me is priceless.
The majority of the photos in this blog post are by
I will be sharing more photos and a blog post soon!
On to entertainment...
This is totally optional, and for this particular event and I chose to just have music playing and because it did rain the entire day, the party was moved inside and it just so happens that the Kentucky Derby was on, so having the TV on worked out just fine. The kids did crafts and played in the basement. Simple enough. A DJ is always great for a party! Last year for my son's 3rd birthday he asked for an "Frozen" theme.... So I hired an "Elsa" actress to come visit. Again, that was my choice, but it was super entertaining and made for a great photo opp!
Decorations....
For me decorations for any party are simple and to the point. I'm not a fan of balloons everywhere and streamers hanging from the ceiling. That's totally fine for kids events but for events like a communion, I chose simple flowers and things I had around the house to emphasize Gracie's special day. I also killed two birds with one stone and used the party favors and cake as part of the decorations!! Saving money on decorations is a great way to spread your budget for more important things like location, food or photography. You just have to go about it in a way the suits you and your event best! One of the easiest and most inexpensive things I did for this party was use a huge brown paper roll from Home Depot and a large white paper roll from Michael's in place of table cloths. I simply rolled out the brown paper first and then the white over it. The width of the white roll was slightly smaller then the brown so it worked out perfectly! It was great because not only was it the perfect neutral decor it was also functional. I put out some markers on the tables and the kids had a blast drawing and coloring all over it! And the very best part was how inexpensive it was! I spent a total of $30 for both rolls and had plenty left over for another party! One vinyl table cloth at Party City is $8. I had six tables to cover! You do the math!
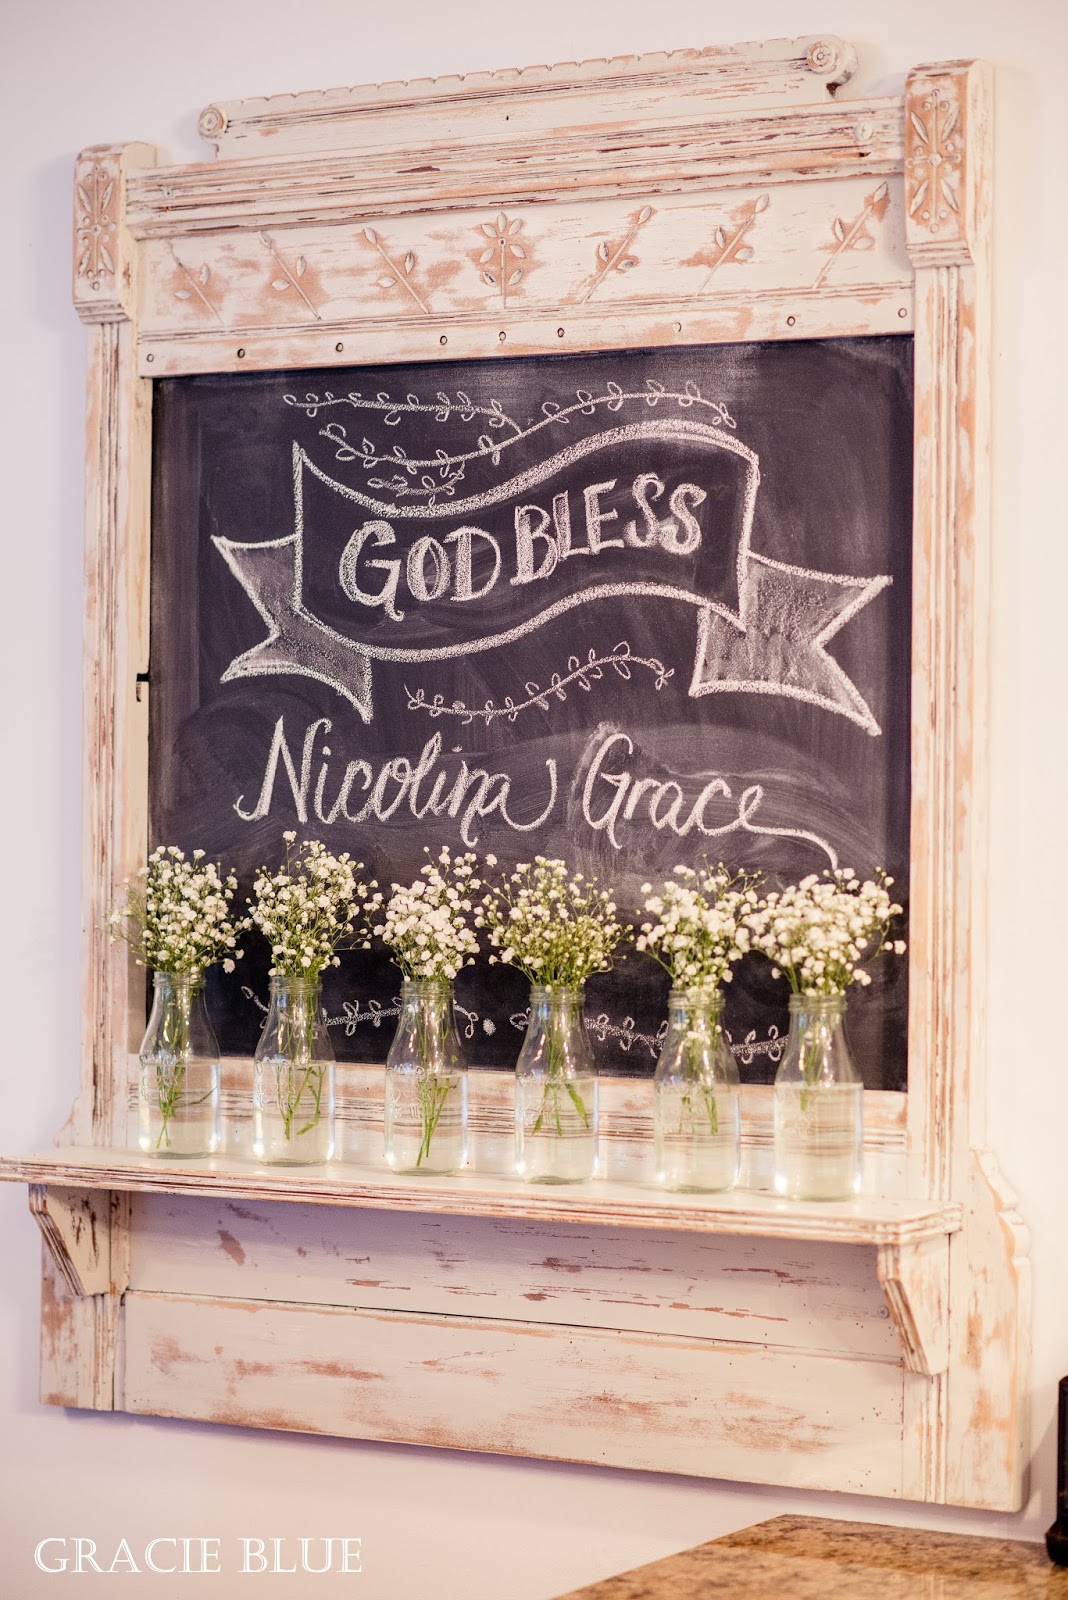


Another great way to add fabulous decor for parties is with fresh flowers!
My husband picked these off our neighbors cherry tree!
Of course we asked for permission first and I just loved how the pink matched the invite and the party favors!! Again, it's the little details like this that pull everything together!
And,
last but not least....
4. The Party Favor
My mom was a huge fan of party favors, I mean really who isn't??
It is a way for the host to say "thank you" in the most thoughtful way possible.
I would like to be able to say that a party favor is optional, but well, it's just not.
Now don't get me wrong, I realize that favors can be really expensive, especially if you have a lot of guests at your event, but now a days there are so many outlets to finding meaningful, inexpensive party favors.
That being said, there are two things to keep in mind when giving out party favors.
Sentiment and Practicality.
I can't begin to tell you how many party favors that my kids have brought home that go right in the trash. When I come home from a party the last thing I want is junk all over my house! As a parent of little ones, there is nothing worse than bringing home a bag of meaningless rinky dink toys and tons of candy! For the amount of money spent on all these little junk toys and candy you could have purchased a $5 giftcard to a local ice cream shop for each child! Always keep in mind sentiment of the event and keep it all practical and you can't loose when it comes to party favors!
Your party favor should reflect your theme or at the very least your color scheme. The more meaning and attention to detail the better.
For Gracie's party I wanted something really unique and personal.
I started my search on Pinterest. There were plenty of ideas but nothing that really jumped out at me. So I decided to brain storm and thought about the true meaning and sentiment of receiving one's First Holy Communion and then it hit me.... the body of Christ. The Bread of Life... bread!! That was it! The party favor had to be bread!! Of course!!
Since bread really isn't that exciting I opted to make mini cinnamon bread loafs. I also decided to dress it up a bit with the packaging. Again, it's the attention to detail. I made sure that the tags and bakers twine matched the color of the invite and of course I had to add a cross!
When I conducted my search on Pinterest for the perfect packaging I came across these adorable little wood berry baskets. They added the perfect touch and the mini loafs fit perfectly! I found all the items on Etsy! I used large party favor bags from Party City to wrap them in and I had the jute twine on hand from Christmas to tie them!

For Gracie's party I wanted something really unique and personal.
I started my search on Pinterest. There were plenty of ideas but nothing that really jumped out at me. So I decided to brain storm and thought about the true meaning and sentiment of receiving one's First Holy Communion and then it hit me.... the body of Christ. The Bread of Life... bread!! That was it! The party favor had to be bread!! Of course!!
Since bread really isn't that exciting I opted to make mini cinnamon bread loafs. I also decided to dress it up a bit with the packaging. Again, it's the attention to detail. I made sure that the tags and bakers twine matched the color of the invite and of course I had to add a cross!
When I conducted my search on Pinterest for the perfect packaging I came across these adorable little wood berry baskets. They added the perfect touch and the mini loafs fit perfectly! I found all the items on Etsy! I used large party favor bags from Party City to wrap them in and I had the jute twine on hand from Christmas to tie them!


Because I had fifty plus mini loafs to bake I decided to use the easiest recipe possible.
I found this recipe and it was delicious! I gave it my own touch and added 2 teaspoons of vanilla to each batch just to give it a more cake like flavor!

Now that you know my four steps to a fabulous party it's time to for you to throw your own!!
With these four steps and your own personal touch your parties will be the talk of the town!
Party On!!
I found this recipe and it was delicious! I gave it my own touch and added 2 teaspoons of vanilla to each batch just to give it a more cake like flavor!

Now that you know my four steps to a fabulous party it's time to for you to throw your own!!
With these four steps and your own personal touch your parties will be the talk of the town!
Party On!!


