Showing posts with label chalkboard. Show all posts

DIY Farmhouse Chalk Lettering {Happy Daddy Day!!}

June 19, 2016

Happy Daddy Day to all those fabulous Daddy's out there!!
I am especially grateful for the "daddy's" in my life! I am extremely blessed with a loving hardworking hubby, the best dad any girl could ask for and an amazing father in law!!
Now that all that lovin' is out of the way, let's move on to a super simple way to add a little farmhouse flare to your chalkboards! 
I'm sure you all have seen those adorable small paddle chalkboards, I recently purchased mine from Antique Farm House and couldn't wait to write cute sayings on them! Then when they arrived and I started writing on them, I wasn't really loving how my handwriting looked on them and then an idea popped into my head... The other day my kids were playing with their Melissa and Doug stamp set and I thought what a great temple they would make for chalk lettering!


So I decided to borrow my kid's stamp set and get to work on creating my own chalk lettering.


The Melissa and Doug stamp set was exactly what I needed to create that farmhouse lettering style I was looking for. This set was brand new and barely used, so if you try this with your own stamp set, just make sure to clean your stamps with proper stamp cleaner. You can find it at Michael's or any craft store. It comes in handy when you have stamp ink all over the place!


Let's get started creating fun farmhouse lettering!

Supplies:

1. Chalk

2. Small paddle chalkboard or any small chalkboard of your choice. 

3. A stamp set. I used this one from Melissa and Doug, but any stamp set will due. You just want to be sure the size of your stamps works with the size of your chalkboard! 

4. A pencil sharpener. You can thank me later! 

5. A small ruler or piece of paper. This is optional, but I like to be sure my letters line up correctly.


Creating your farmhouse lettering:

1. Be sure you chalkboard has been "seasoned". If your not sure just rub a stick of chalk over your chalkboard and let it sit for a few hours (a day or two is best) and then wipe off. This steps prevents and writing or marks to remain on your chalkboard after you have wiped the chalk off. 

2. Be sure your stamps are completely clean and dry! 

3. Once your stamp is nice and dry sharpen your stick of chalk until it looks like a pencil. Once it's good and sharp figure out the saying or words of choice and color the stamp using your chalk. This will act like the "ink" if you will for your stamp!

4. Once you have colored the stamp with your chalk firmly press the stamp on to your chalkboard exactly where you want it. This is the part where your ruler and Q-tip comes in handy! If you make a mistake, just wet the Q-tip or use your baby wipes to make your corrections!


5. Once you've "stamped" all you letters to create the saying, just sharpen your chalk again and go over the letters so they stick out more and look as if you actually wrote them!! Cool right??


The sharper your chalk the easier it is to work with!


This is a super simple way to add farmhouse charm to any room in your home!
Chalkboards are my favorite! It's so much fun to be able to create anything you like and then just erase it and start over when you get bored!! 


The possibilties are endless!!! 
Happy lettering!!

*You saw this post first on Gracie Blue ~ the blog*

Spring in the Kitchen {Summer Countdown}

May 26, 2016

Where does the time go??
I can't even believe there are only sixteen more school days until summer break!
I feel like I haven't even had a moment to enjoy spring... With all the rain and parties and what not, I really haven't had time to just embrace spring and all it's loveliness. 
Just the other day I noticed all the trees have lost their blooms and are now full of green. Don't get me wrong green is much better then bare, but I love spring blooms! 
This morning I was on the hunt for the last blooms of spring and low and behold I found them!! In mu neighbors yard (of course!). So I sent her a text letting her know I was stealing some blooms from her little bush on the side of her house... "Help yourself!" was the answer!!
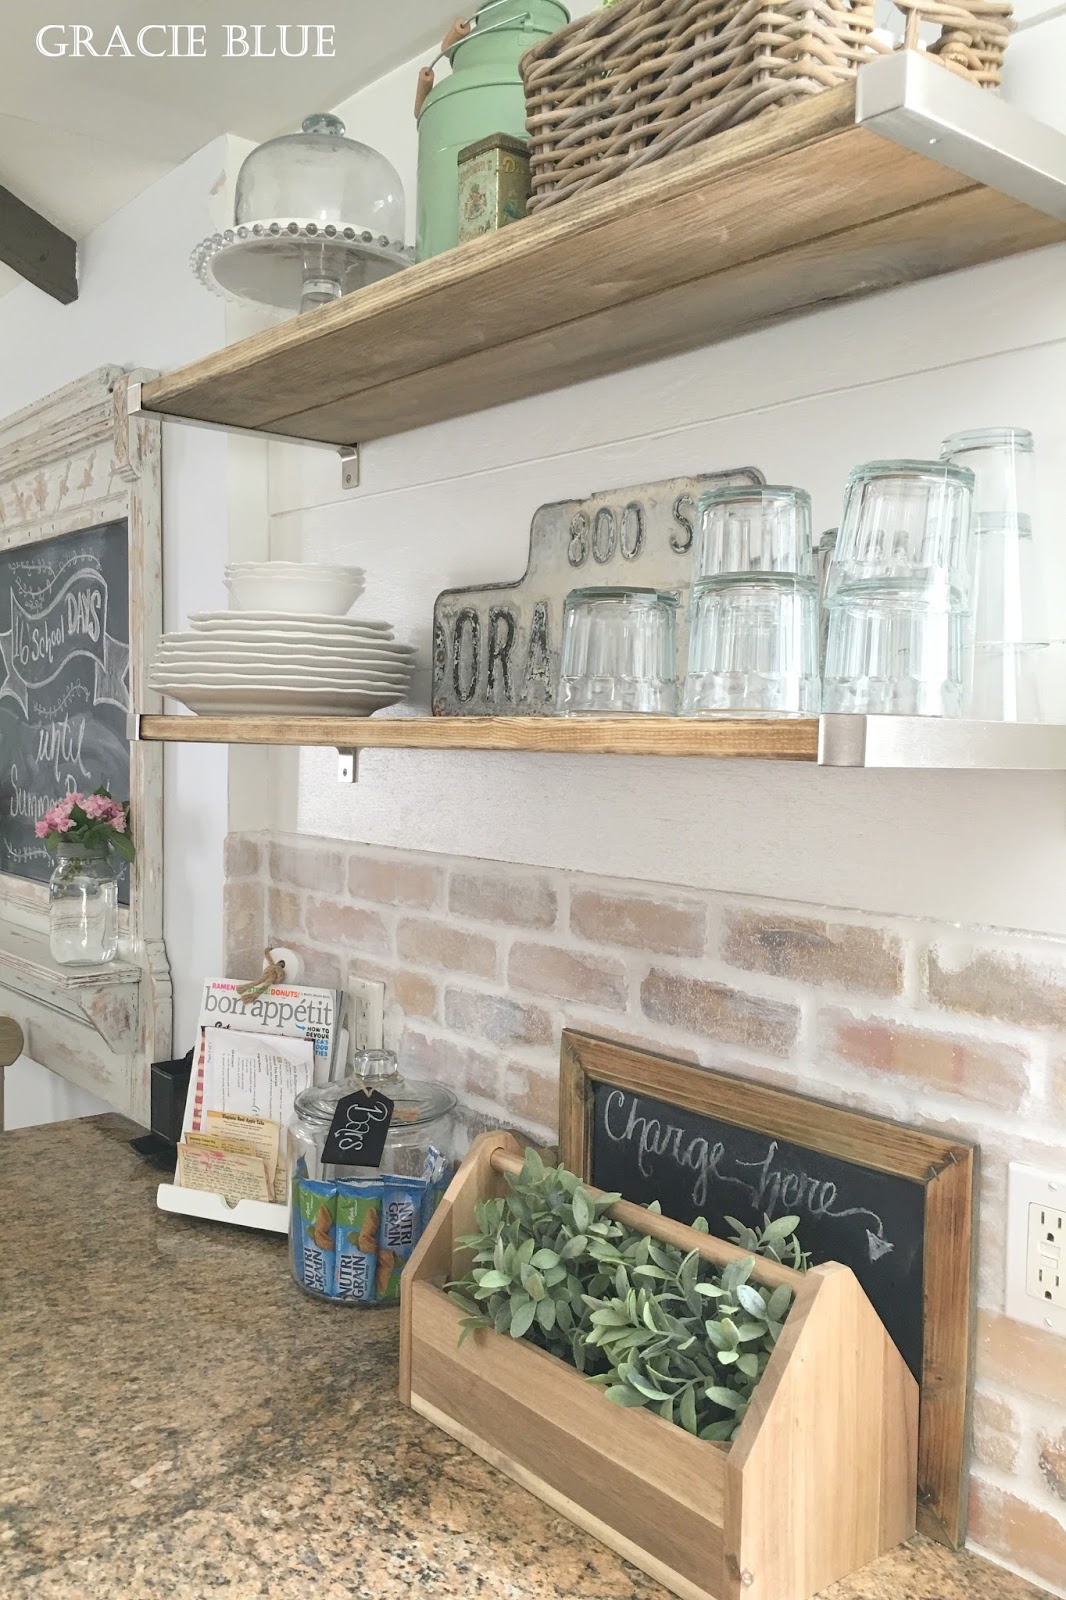
I'm here today to share what spring looks like in my kitchen!
I am also getting ready to hang some pendants over our island so these will be considered the "before" photos!! I hope I love them and don't chicken out!! I'm seriously like a single guy that can't commit to his girlfriend when it comes to big (permanent) decor changes, I just can commit!! Haha!


Summer will be here before you know it!
I'll be posting Part II of my DIY White Farmhouse Kitchen soon!
Thanks for stopping by!!


Chalkboard Decor {DIY Framed Chalkboard}

March 8, 2016

It all started with a love of chalkboards.
If you've been around long enough to get to know me then you know my love and obsession for chalkboards. Ever since I was a child I have loved chalkboards. I used to love in door recess because the teachers allowed us to take turns writing and drawing on the chalkboard. I had a dream of becoming a teacher just so I could write on the chalkboard.... 
I have brought that never ending love into my home. Some people think I have gone a little over board, but hey, it's my home and it makes me happy and that's all I have to say about that!
 I love being able to change things up and draw or write anything I please, or my children please and then when I get tired of it I can change it all over again.
 Chalkboards aren't just for expressing your self, a chalkboard makes for a fabulous backdrop for decor. I am more of a neutral decor person and I love the pops of black that a chalkboard gives off when it stands alone, unmarked and filled with the remnants of chalk from words or art that were there at one time. 
Today I decided to share some of the chalkboards I have on display in our home right now. I am also sharing how I made the huge chalkboard display in our dining room. 


I told you I loved chalkboards!
So if you would like a huge chalkboard display in your home here are the details:

All materials for this project were purchased at Home Depot, but I'm sure you can grab them at your local home improvement store. This entire project cost me less then $20. I had everything but the wood on hand, but even if you have to purchase all materials it shouldn't run you more than $30 depending on the quality of wood you are using!

Materials:

4' x 4' Pre-cut plywood. 
The piece of plywood we used came pre-cut. It's not the best quality plywood, but it was fine for me and super inexpensive! If you intend to do a lot of art work and writing on your chalkboard I would recommend having a higher quality plywood cut to size.

1x2's cut to size to frame your chalkboard.

Chalkboard Paint (obviously) I used this brand.

Paint brush or roller (if you are making a huge chalkboard like mine I suggest a roller!)

Stain of your choice for the 1x2's (I used these staining wipes! Super easy!)


Nail gun (or finishing nails and a good ole hammer)

1 box of white Chalk (To season your chalkboard)


Make Your Chalkboard:


 Paint your plywood with the chalkboard paint.
I did four coats and let each coat dry for an hour in between coats.

Stain your 1x2'. Be sure to stain them completely including the ends! 
Let them dry completely!

Let everything dry completely before you frame your chalkboard with the 1x2's.

To frame your chalkboard you want to add just a little wood glue around the frame of the plywood to help secure the frame to the board before you add the nails. Do this in sections and use a clamp if you can to secure. This is a two person job for sure if you plan on tackling this with a nail gun for the first time or of you are using hammer and nails! 
My husband used a nail gun to secure the 1x2's to the chalkboard. You want to be sure the nails go into the edging of the plywood. This can be tricky if you are new to this. 

Once the 1x2's are framed out around your chalkboard there is one more simple step.
You need to "season" your chalkboard.
 To season a chalkboard this large you will need at least one entire box of chalk. 
Using the long length of your chalk, simply go over your chalkboard and cover it in chalk. This will make it much easier to erase your work without having permanent marks on the chalkboard. Be sure you cover the entire chalkboard and leave it on for at least 48 hours. I left mine on for five days. 


Although it was pretty simple making this chalkboard, due to the process of painting and letting things dry it is fairly time consuming, but so worth it in the end!! It's also an inexpensive way to change your home decor as often as you like! 
When the holidays were over I had all intentions of taking the chalkboard down, but right now I am loving the simplicity and the black backdrop against our light walls. Layering within and around the chalkboard also brings much needed depth and coziness to the space!
Please let me know if you tackle this project. I love hearing from you. Leave a comment below! 
Have a great week friends!!


Antique Mantel {Before & After}

May 8, 2015

There's no better feeling in the world than completing a project that was conceived in your brain and finally brought to life. This is exactly how I feel about this gorgeous antique mantel I found on a Facebook tag sale page almost a year ago! From the moment I saw it I knew exactly what I was going to do with her and exactly where her permanent home would be inside our home...
Here is the picture of her from the tag sale site on Facebook.

I immediately fell in love with the detail and of course that adorable shelf!
I actually didn't mind the condition it was in either, but when I brought her home I felt she needed some TLC... So like a good new mommy to antiques, I put her in a safe place in the basement until I found time to get to transforming her into a magnetic chalkboard for the awkward large wall between our kitchen and living room. Up until a few days ago that wall was empty for a good three years.... I just could not commit to putting just anything there and I knew exactly what I wanted on that wall and this mantel was going to make that happen!!
I spent most of the winter sanding down all the old stain off the mantel and the later half of the winter trying to decide if I wanted to keep it all natural or give her a nice paint job.... I literally thought about this for a good four months... Don't judge LOL! Fast forward to a couple weeks ago and gorgeous weather, I got the itch to just do what I had to do. I painted a large piece of galvanized sheet metal I purchased off Amazon exactly one week after I picked up the mantel and attached it to the mantel with little picture hanging nails. I knew I wanted it to be a chalkboard (of course) but I also wanted to be able to use the magnetic scrabble pieces I had from another project...
Now here's the funny part of it all. I had finally made up my mind that I was going to keep the mantel all natural and just use a little of the Lime Wax I used on Gracie's dresser.... This is were the "oops" happened. I wiped on some of the Lime Wax and OMG. My gorgeous pine mantel was pink. Yes, my friends it was pink... So in a big fat panic, I decided to just paint over it with some Pure White, Anne Sloan chalk paint and then distress it a bit.... Well, now "oops" #2 was, I ran out of paint.... With my heart racing at 6pm on a Saturday night, I ran into the basement to see what color paint samples I had.... I was certain I had some kind of white paint in the house, but all I had on hand at that moment was a sample of Gray Owl by Benjamin Moore.... So like a mad woman I ran outside and started to paint over the white with the Gray Owl.... I let the paint dry over night and began distressing early Sunday morning and all I kept saying to myself was "Thank God for that Lime Wax!!". Had I not taken a chance with the Lime wax, I would have just stayed in my comfort zone and kept the mantel all natural with no "Wow" factor... It would have totally just blended and it would have been just another thing on the wall....
But now that "thing" on the wall is absolutely perfect and I just love the way it looks and how much life it brings to our space...
I will warn you, I took a lot of photos. This really is my first project that I took my time with and did exactly what I wanted to do with it....


 I have been waiting to have a unique piece like this in our home for a long time.... I love that it is so versatile and that I can display sentimental pieces from my children for all the world to see.... This piece will be a staple in our home for a very long time... Did I mention its screwed into the wall?? So, yes... a very long time.
Happy Mother's Day!!!

Cupcake Family Tree {Offical End of Summer}

September 3, 2013

Holy September already??!! Where the heck did August go?
Well.... It's the official end of summer and our little girl is officially not so little anymore.... Our Gracie had her first day of Kindergarten last week.... She did such a great job. It's still so hard to believe that I had her almost five years ago!! Gosh I feel old!!
 
 
And here she is....Sparkly shoes, leopard hat and all!!
 
As Labor Day has come and gone I thought I would share a special cupcake family tree I created in honor of my husbands 60th Family Picnic. It's a weekend celebration that brings together more than 100 family members on my husbands maternal side of the family. It's the one time of year where we all get together, eat, drink and share stories, memories, laughter and tears all weekend long..... For us this is the "official" end of summer...
This tree took me a total of eight hours to create, bake and ice and it was worth every second! It was the least I could for such a special family!!


A little history on this family tree....
It all started with my mother in laws grandparents that migrated here from Italy. Rocco & Carmella made their home in the United States and had nine children which are represented by the nine apples on the tree....
From the "original nine" as everyone in the family refers to them, has evolved a growing family of 158 (and counting) and I am honored to be able to say I am a part of it!!
Happy "Official" end of summer!!!
How did you spend your Labor Day??